LJL M2M
- Sep 6, 2021
- 4 min read
Updated: Nov 3, 2021
"The more you wander, the more you wonder."
Throughout the M2M sessions we experimented with a variety of papers and techniques. The final activity was to display our understanding of paper by creating a cohesive unit combining different papers and techniques learnt during the sessions.


1.
Technique : No adhesive.
Material : OHP sheet, Colour paper.

MAIN FOCUS : To create a texture with paper without using adhesive and to achieve a very unusual texture which is normally not created using papers.
BENEFITS :
Not time consuming,
Easy,
less material required.
Can be done using any material.
HOW : The texture was achieved by cutting slits onto a transparent sheet and inserting triangular pieces into these slits.
EFFECT ON PAPER : I realised that this technique made the paper more fragile because of the slits
CHALLENGES FACED :
That side cannot be used as a base in the cube.
Lacks stabilty/ not durable.
Have to show extra care to avoid tearing of paper.
CHANGES I SHOULD HAVE MADE : I could have played more with the paper that I inserted by rolling or tearing, quilling etc.
WHY I CHOSE OHP SHEET : Before the final project we were asked to show samples of what we were planning for our final project. In my sample I had used sun board as a base and I was advised by my tutors to use a transparent material for the base so that it looks better and the non-adhesive aspect is more evident.
WHY I CHOSE COLOUR PAPER : I wanted to follow a theme of six elements of nature while creating my final cube. After creating the samples I realised that I could use this technique to represent the element fire. I wanted the colour of the material to also reflect that and since I could not use paint or colour of any sort I had to use the only red colour paper I had. Coloured paper was also suitable because it was strong and flexible as well.
Technique : twisting,
Material : Crepe paper

MAIN FOCUS : To try and create patterns and texture out of twisted paper.
BENEFITS :
durable,
Requires very few materials,
Not time consuming.
HOW : Twist crepe paper tightly and stick onto another sheet of paper in the form of a spiral.
EFFECT ON PAPER : It made paper more stronger and firm.
CHALLENGES FACED :
Aching hand caused by twisting paper,
Suitable for only certain kinds of paper.
CHANGES I CAN MAKE : Can try more inventive patterns or forms with twisted paper.
WHY I CHOSE CREPE PAPER : During the M2M sessions, I found the crepe paper to be the most comfortable paper for twisting. That is why I chose this material for this technique.
2.
One of the most common examples of how the property of paper is utilised for a specific function is:
KITE:

Light-weight,
High surface area suitable for flying,
Easy to change the shape, size etc.
Cheap
3.
Do's and Don'ts While Using Adhesive :


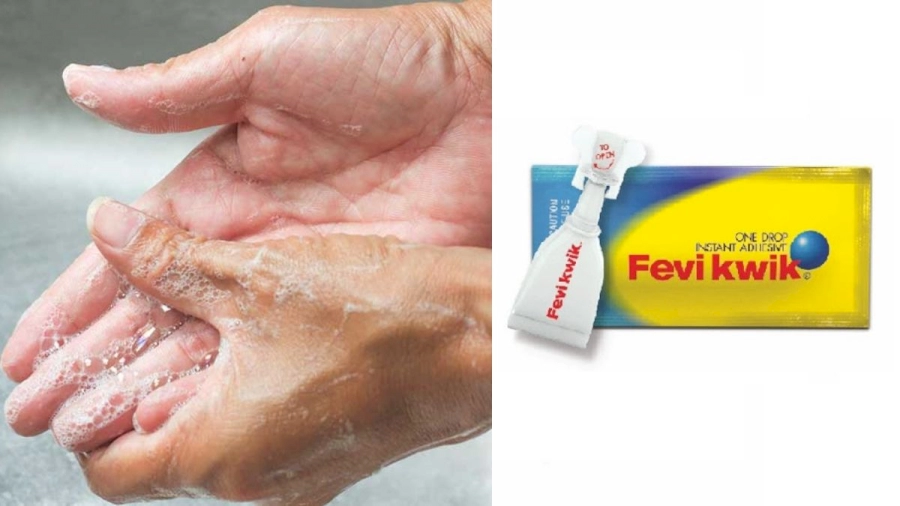


FEVIKWIK:-
Do's
Should be very alert while using.
Should apply little quantity to avoid stains and spillage.
Be quick while using fevikwick since it dries very quickly.
Plan ahead, since it is very hard to correct the mistake after the material has stuck and the glue has dried.
Don'ts
Don't spill on hands or other surface.
Don't panic if it spills on your hand. Simply rinse the hand under warm water till the glue goes.
FEVICOL:-
Do's
Give it time to fully set, be patient.
Make sure to apply more quantity in comparison to fevikwik.
Fevicol can often be messy. Make sure to avoid leaving sticky chunks of glue all over the surface of your final product/model.
Don'ts
Don't put too much, especially on paper of lower gsm since it can cause the paper to become soggy and even tear.
Don't keep on changing the position of the object that needs to be stuck since fevicol requires a lot of time to dry.
FEVISTICK:-
Do's
Put sufficient glue on the surface.
Be patient, fevistick also requires time to dry.
Don'ts
Don't use it to stick all types of surfaces. especially surfaces like the cling film, OHP sheet etc.
Don't use it to stick heavy or bumpy surfaces together.
CONCLUSION:
My Muddiest Points:
Why is it that the final creations are only restricted to abstract thinking?
Why can't the final patterns be inspired from nature and the world around us?
How is OHP sheet etc, considered as paper?
Why was using colours avoided? Isn't painting/colouring another technique that is used on paper?
I still find it difficult to figure out certain materials through its appearance, texture, colour etc.
My Clearest Points:
I am clear with the different techniques that were introduced during the sessions.
I understood the different ways of converting flexible and weak material to stiff and tough material and vice-verse.
I understood how to increase density and master certain techniques.
KEY LEARNINGS :

From the feedback received from the first few activities , I realised that the intensity of my work was not sufficient. But through practise I could reach to a much more acceptable level.
I feel Jaali was the activity in which I improved a lot.
Another aspect that I learnt was that my work/techniques(rolling, paper mache, twisting etc,) had to be done with more finesse. This was finally attained to a cetain degree through practice.


I hope in the future projects/assignments I am able to maintain these two aspects in my work.
Overall the activity was engaging but very tiring.
Certain techniques that I chose were very time-consuming and took a lot of effort. I sometimes felt that I won't be able to complete the assigned task.
The aspect that made the activity engaging were the uncontrollable excitement and curiosity I had to see the final product.
Every time I succeeded in creating a work that I was satisfied with, helped me move further and work more.
I hope to maintain this enthusiasm to do my best in every work that I am assigned to in the future.
I also hope to make sure that I am aware of the brief and what is expected of me before starting any project in the future.


Comments