LJL F2F
- Nov 21, 2021
- 4 min read
Updated: Dec 11, 2021
'Accepting challenges result in new discoveries'


The entire Fvl-2 was a challenge that brought about so many new discoveries , understandings and questions, for example the understanding that no object is ever empty raised many questions in my head. Questions like why do we then call it empty when in reality it is not, whether emptiness even exist etc.
UNDERSTANDING FORM AND SPACE:
Several examples can be found in our surroundings which utilize addition, subtraction, transformation and combining, below shown are some examples of this:


There were many aspects of FVL-2 that I was able to connect with other modules. On the first day of F2F, when I was trying to make known forms using wires and sun board I was able to notice how useful our learning about lines and dots in FVL were. During the FVL classes we had also looked into showing dimension through lines. This was useful when I was trying to make form using wires etc.


I was able to connect the many practices done in Think Lab with F2F as well. Practices like challenging basic assumptions etc, that was done during Think Lab sessions was very useful while trying to create forms in F2F. For example, while I was taught that it was possible to create extrusions of a cube or a cuboid by sticking square or rectangular pieces of sun board in that particular shape, no one had yet looked into extrusion of a cylinder. I knew it was not possible with sun board so I tried experimenting various other materials. I finally succeeded in creating a mould using chart paper.


CHARECTERESTICS AND PROPERTIES OF PLASTER OF PARIS:
During the F2F sessions, I used Plaster of Paris to create varies forms. While practising with Plaster of Paris, I came across various Do's and Don'ts regarding the material. They are as follows:
Do's:
While preparing the plaster, always make sure that the mixture is thick and not watery but at the same time pourable. A thick mixture won't give a neat outcome, whereas a watery mixture will result in the form not drying.
Always create the mixture in a clean container. While I was creating the mixture, I often used a container which had some leftover Plaster of Paris. This leftover POP then caused my mixture to become lumpy.
Make sure to let the air escape from the mould by tapping or by poking holes into the mould.
Always use gloves while working with POP.
Make sure to add excess tape outside the mould to prevent leakage.

Don'ts:
While cleaning avoid washing in the sink because it can lead to blockage in the drain.
Start with small quantities of water to avoid the chances of wastage.
CONCLUSION:
Struggle:
There were two areas where I struggled the most during the F2F sessions. One was in the area of understanding the concepts taught in class I was able to understand the theory of all the concepts taught but when it came to execution of these understandings, I feel I was unable to accomplish that.


(Addition)
However through practice I was able to slowly improve my work as well as my understanding.


(Extrusion)
And the second was in being punctual with my submissions. The delay in my submissions were a result of this above mentioned struggle. This delay then resulted in a backlog from which I couldn't recover. Even though I couldn't recover from the backlog because I got caught up in the End-term project I did understand how important it is to communicate because if I had mentioned the above problem maybe the entire scenario might have turned out entirely different.
Process of Making:
Whenever I worked with POP, there was certain procedure I had to follow to get the form that I had desired.
The first step involved detailed planning. This is necessary because during this stage I not only look into the appearance of the final form but also into how stable the form will be, with what material the mould has to be made of for eg, to create some forms I had to use flexible materials like chart paper and for other I used sun board.


After deciding the material to be used for the mould, the second step involves the actual creation of the mould where certain aspects like where the hole should be left on the mould to pour the POP mixture so that the form can be kept for drying in a stable position without the POP leaking, where more holes are required to let the air escape etc.


The third step is creating the POP mixture. One should always make sure that the mixture is pourable but at the same time not too watery. While creating these models, I realised that to get the mixture right, the best way was to fill the container with water first and then start adding POP powder to it. Keep on adding the powder till it stops dissolving instantly and mix the mixture once it reaches that stage.
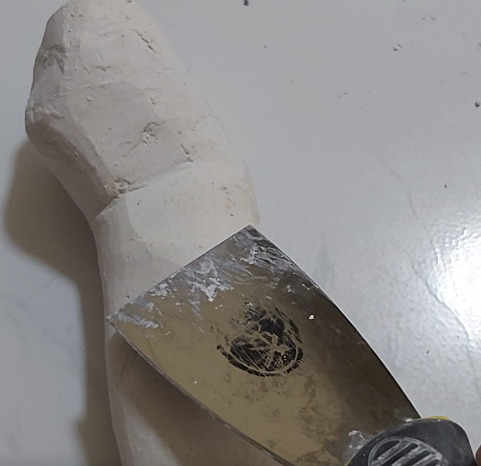
The final step involves carefully removing the mould and removing any irregularities using various tools.


This is the procedure I learnt towards the end of F2F that helped me improve my POP forms.
It can also work while using most material to create any form and could become quite handy in the future while working other new materials.


Comments